SalesSavvy HubSpot Setup Guide
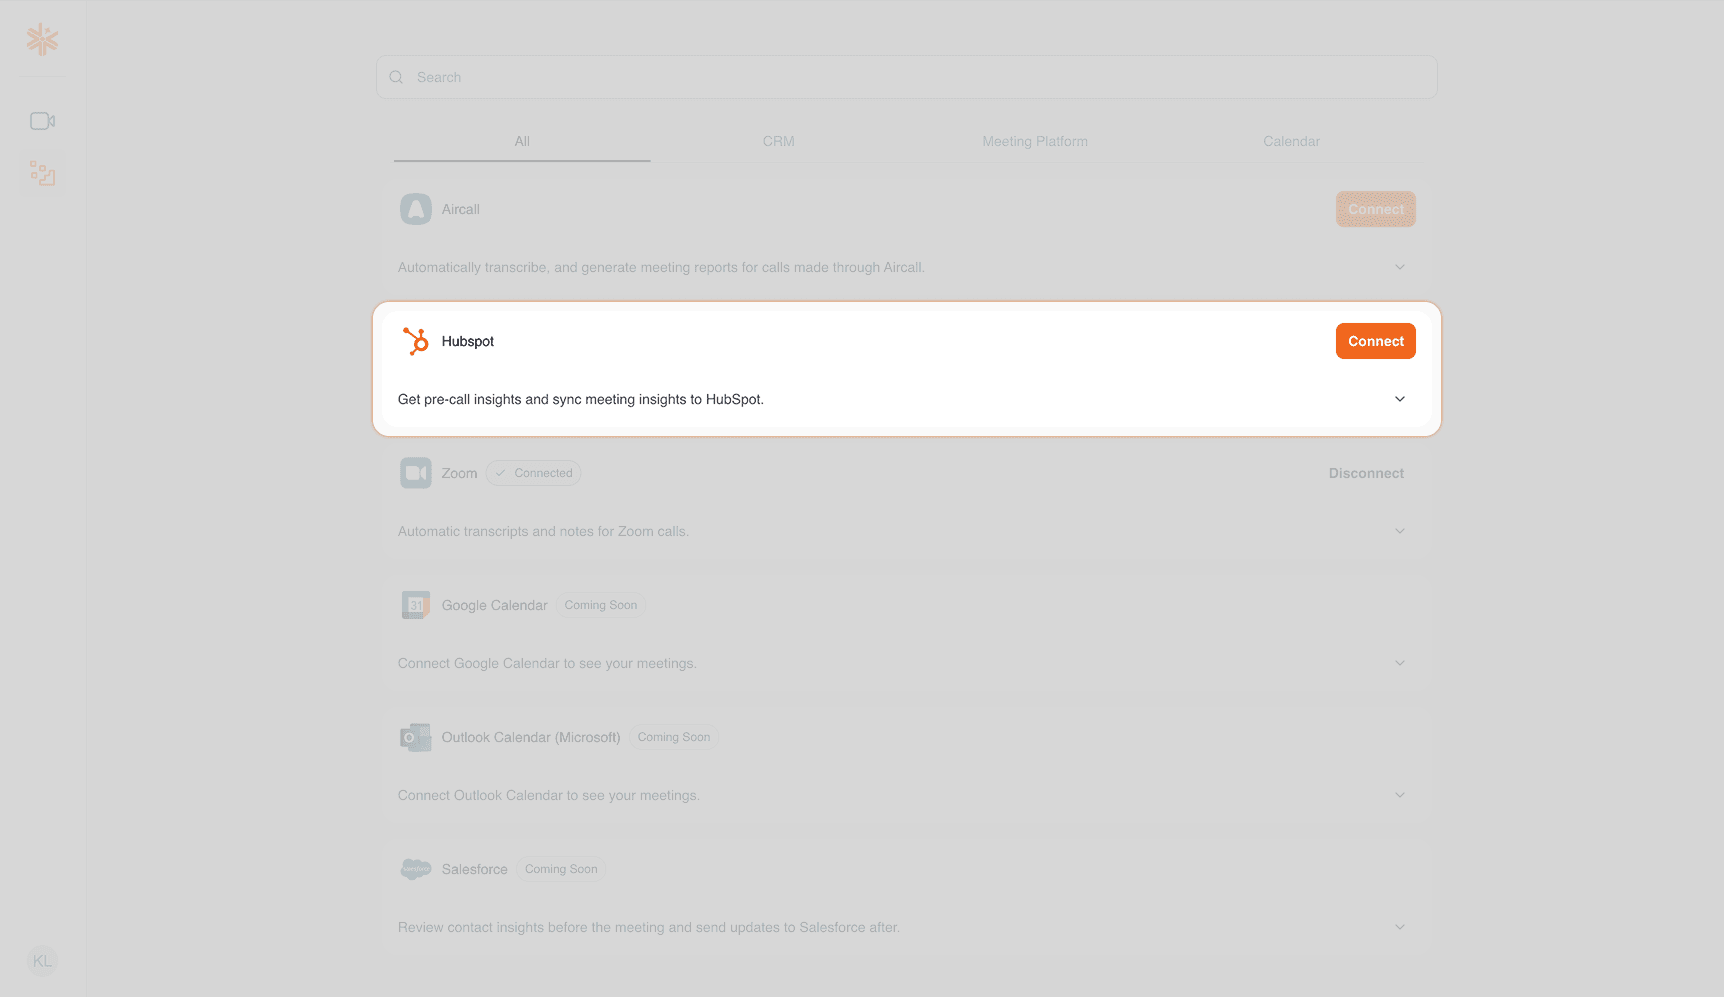
1. The Handshake (Connect & Login)
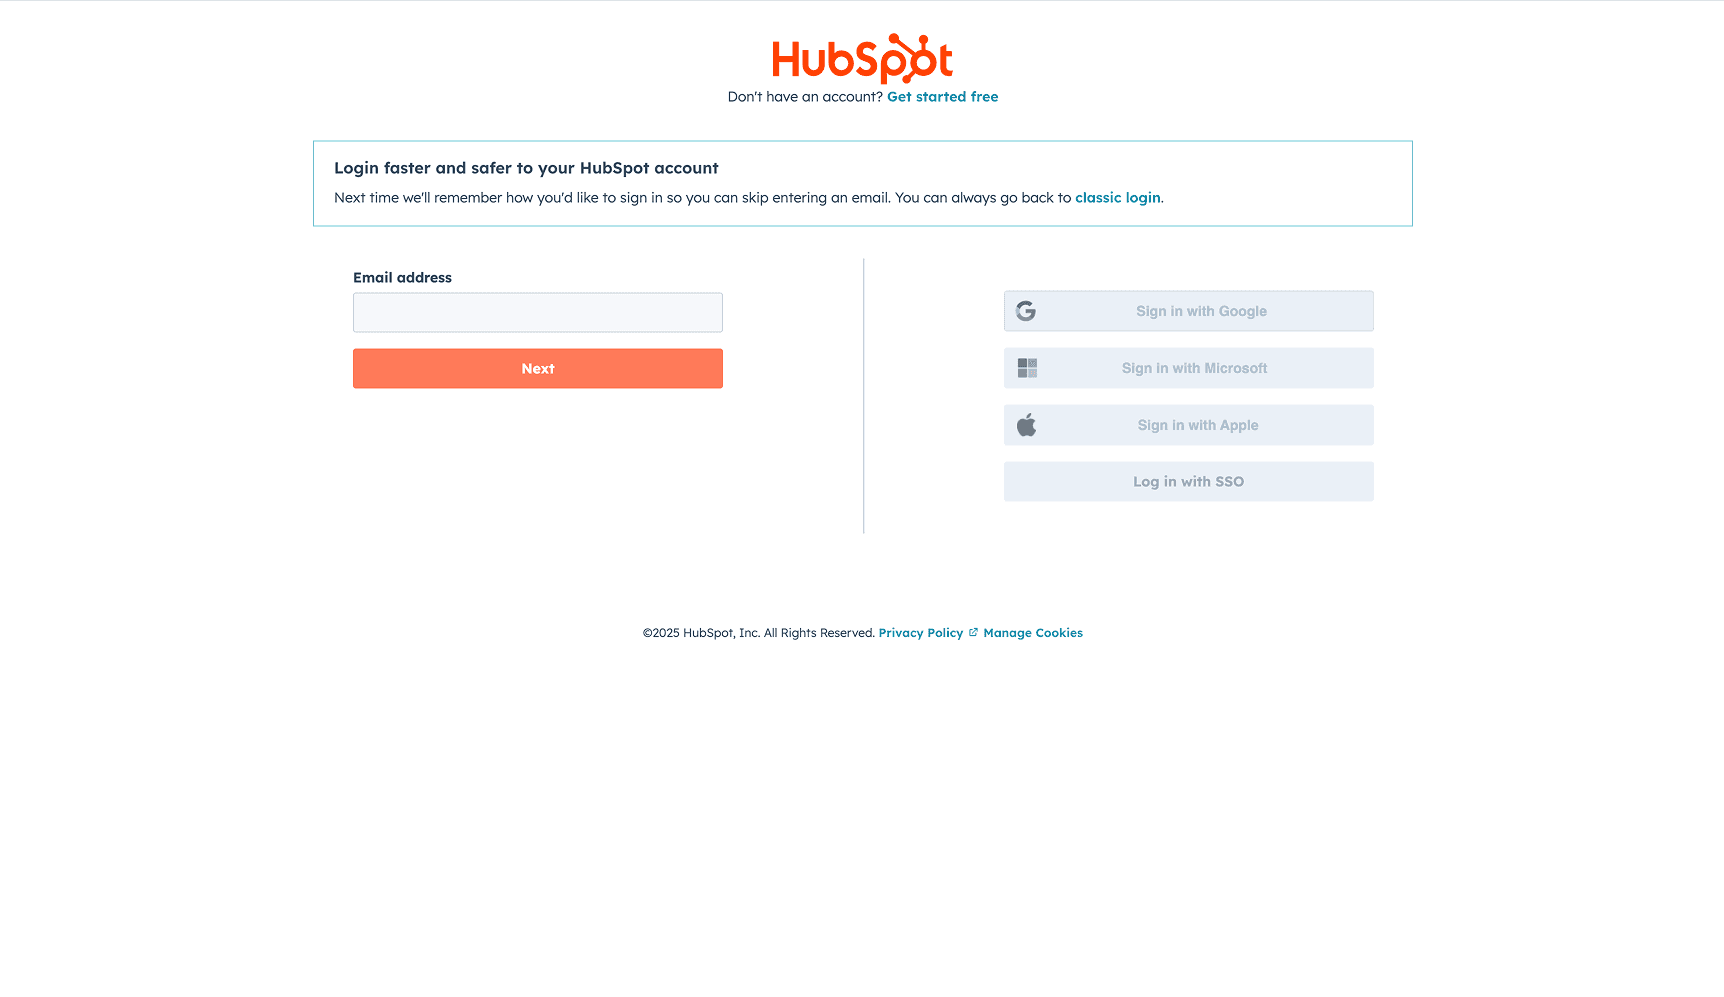
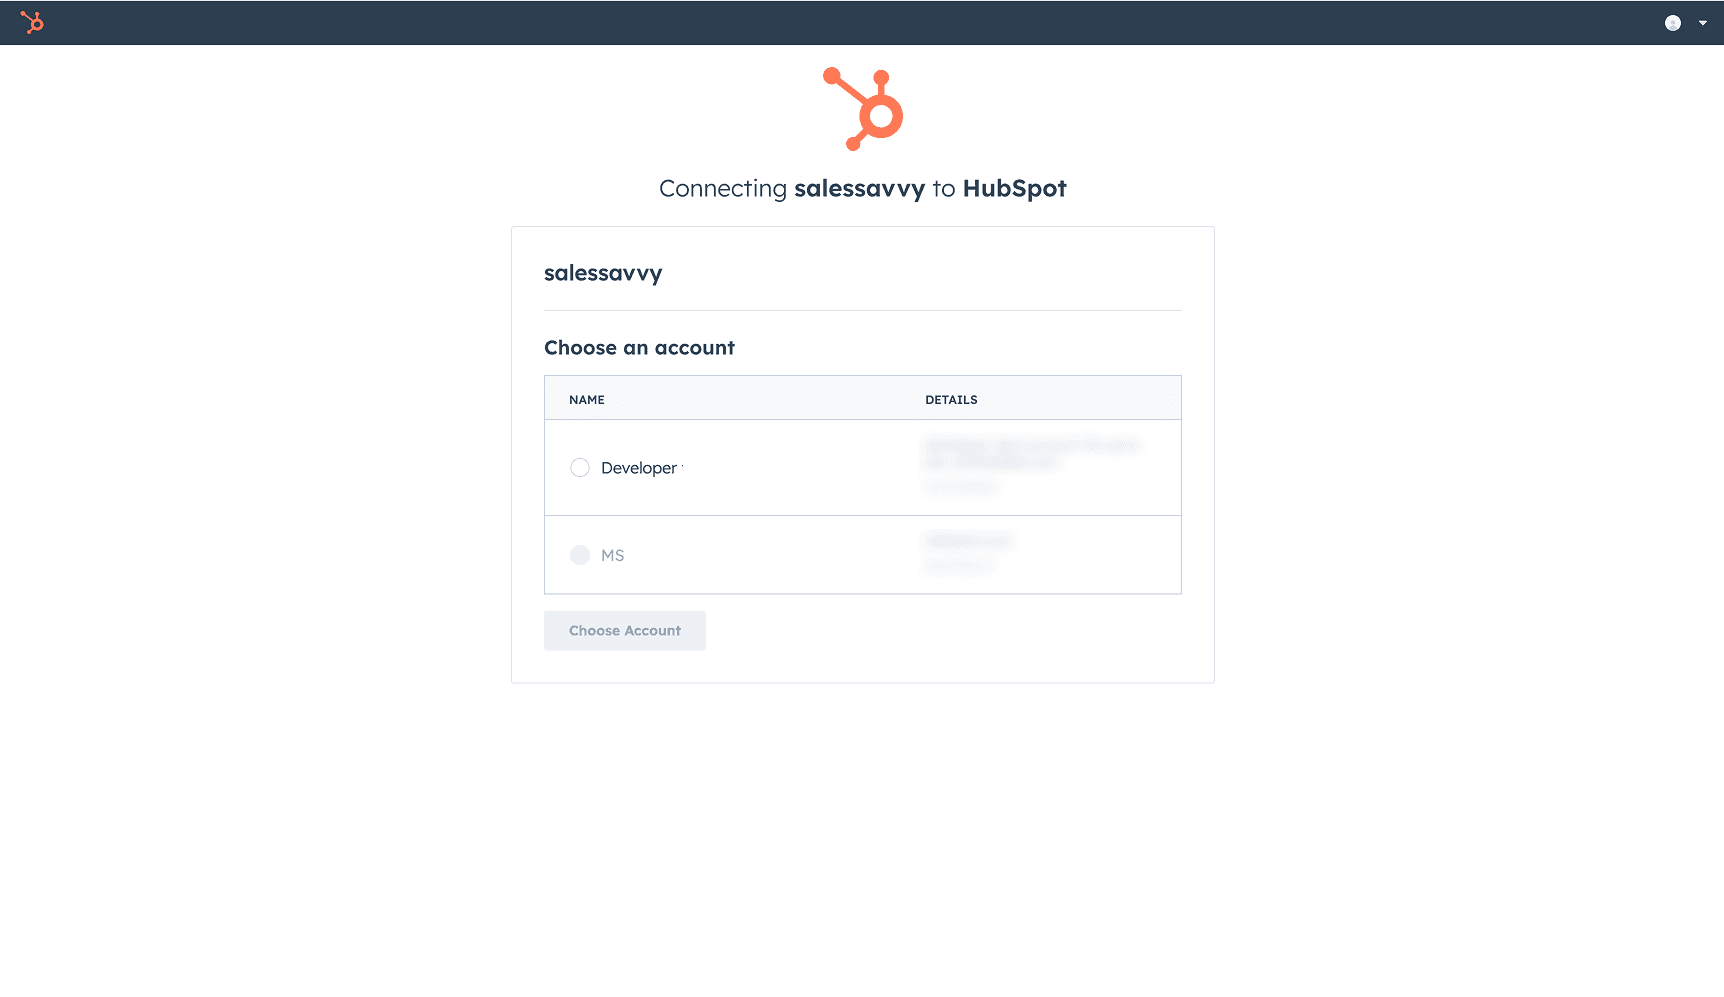
Click the Connect button on this page. Log in with your usual HubSpot account. If you have multiple HubSpot accounts, select the one you want to enable for SalesSavvy.
2. Grant Permissions
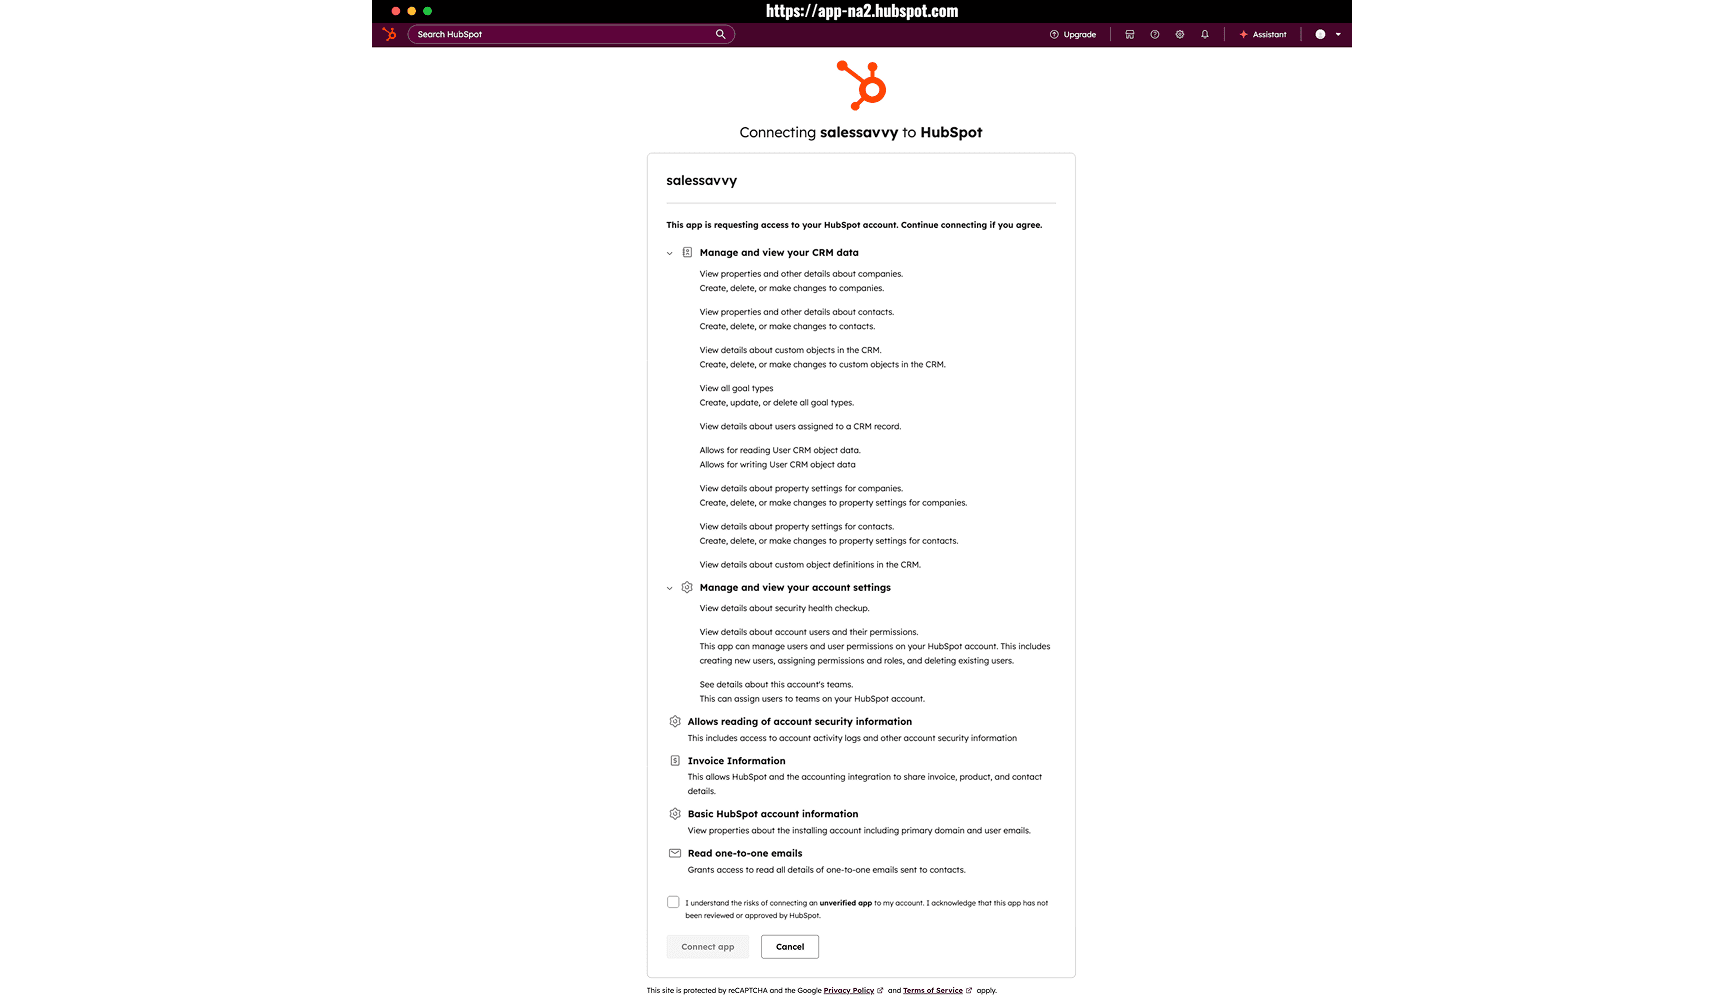
Review and authorize the requested permissions. Your data remains your source of truth. SalesSavvy uses it only to help you get more value from HubSpot.
3. Add the SalesSavvy Card to the Contact Page
- After authorization, you can generate pre-meeting insights in SalesSavvy and sync selected data back to HubSpot.
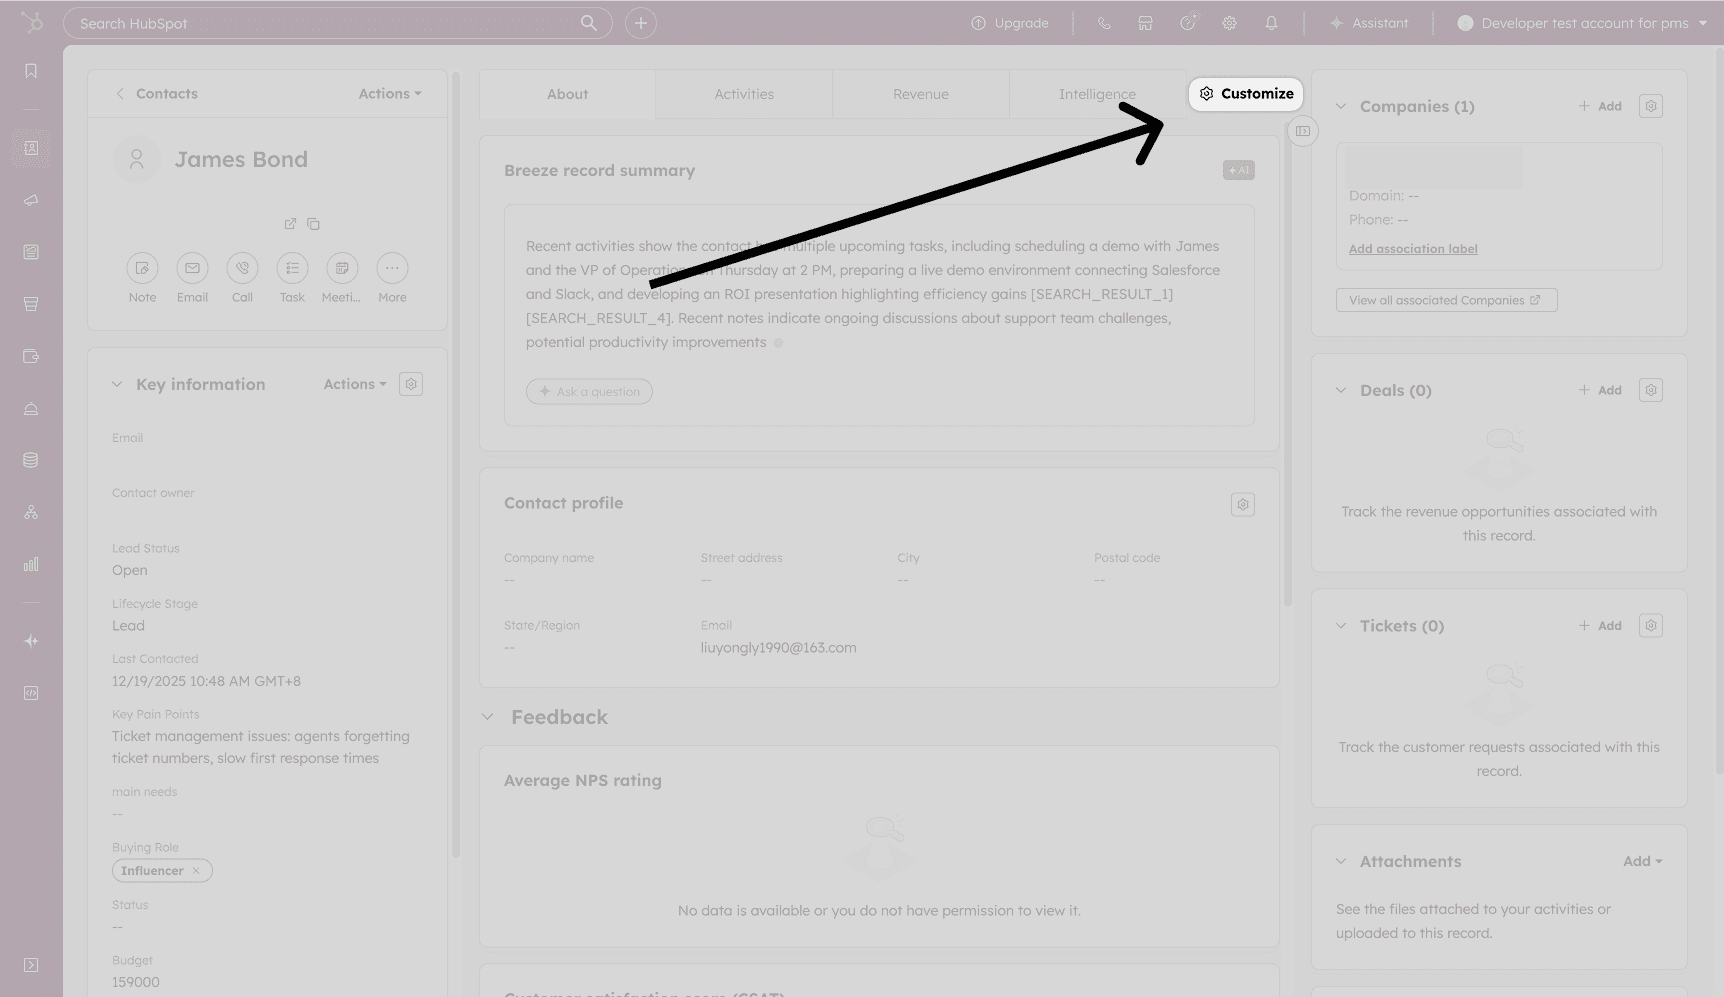
- We also provide HubSpot smart cards that can be added directly to the contact page, so you can view pre-meeting insights without leaving HubSpot.
4. Create a Dedicated Tab
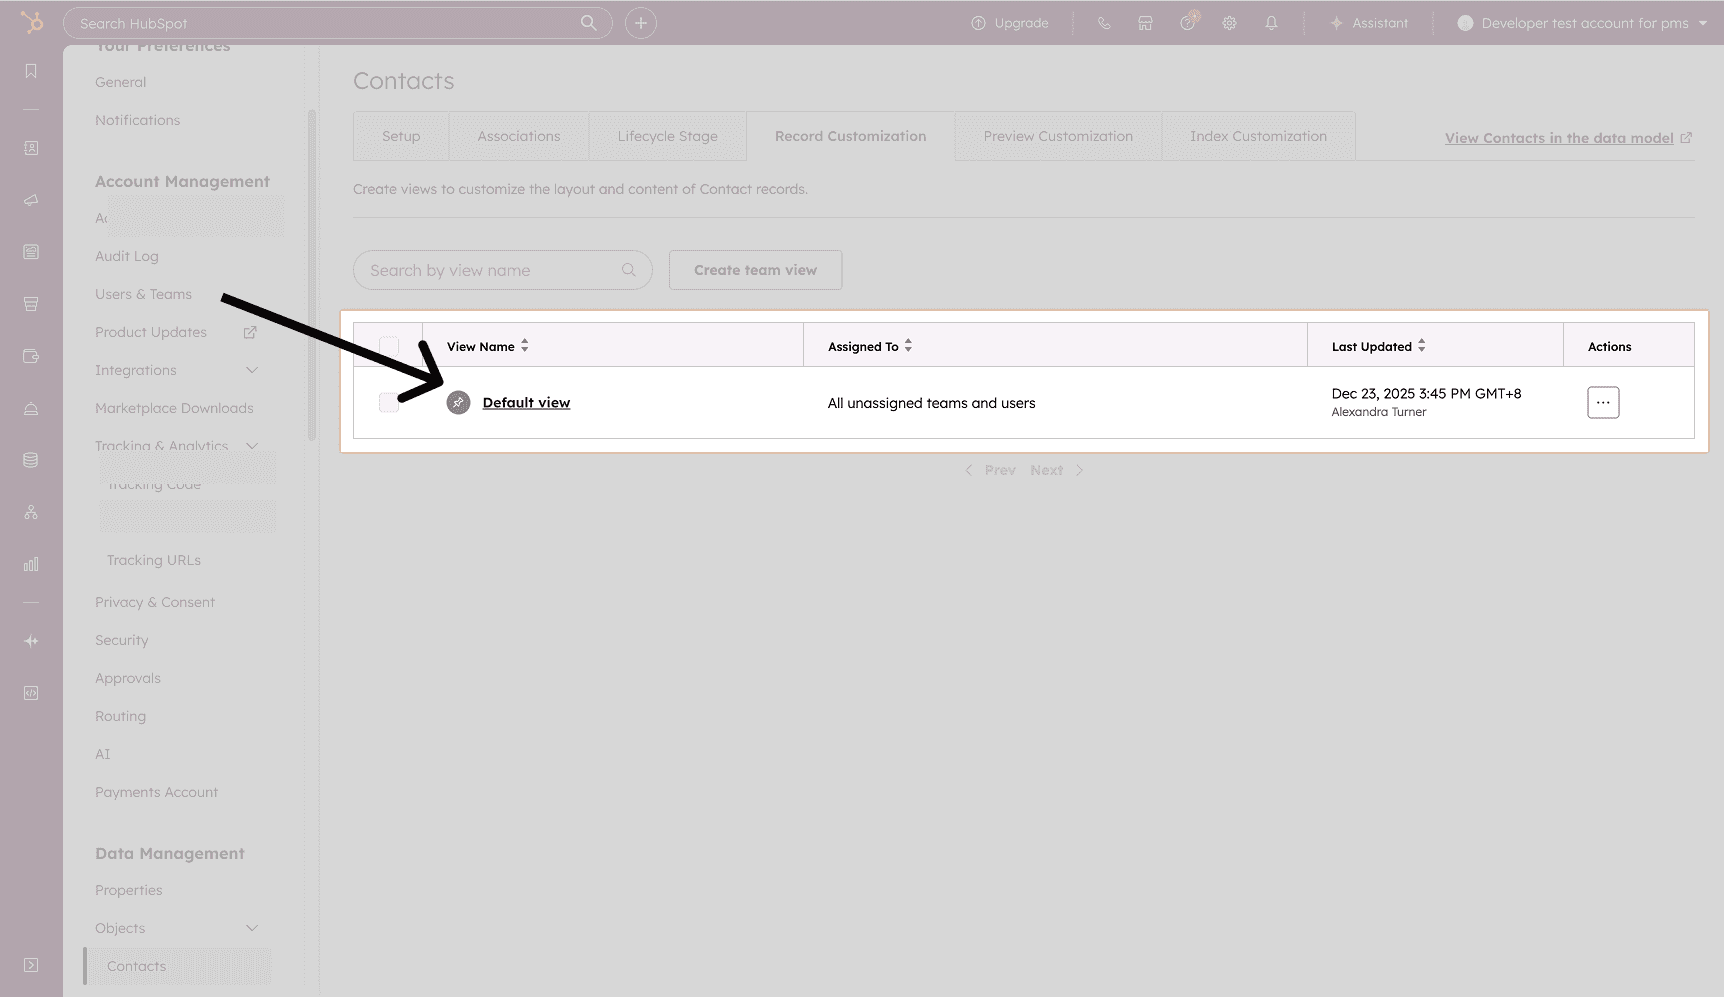
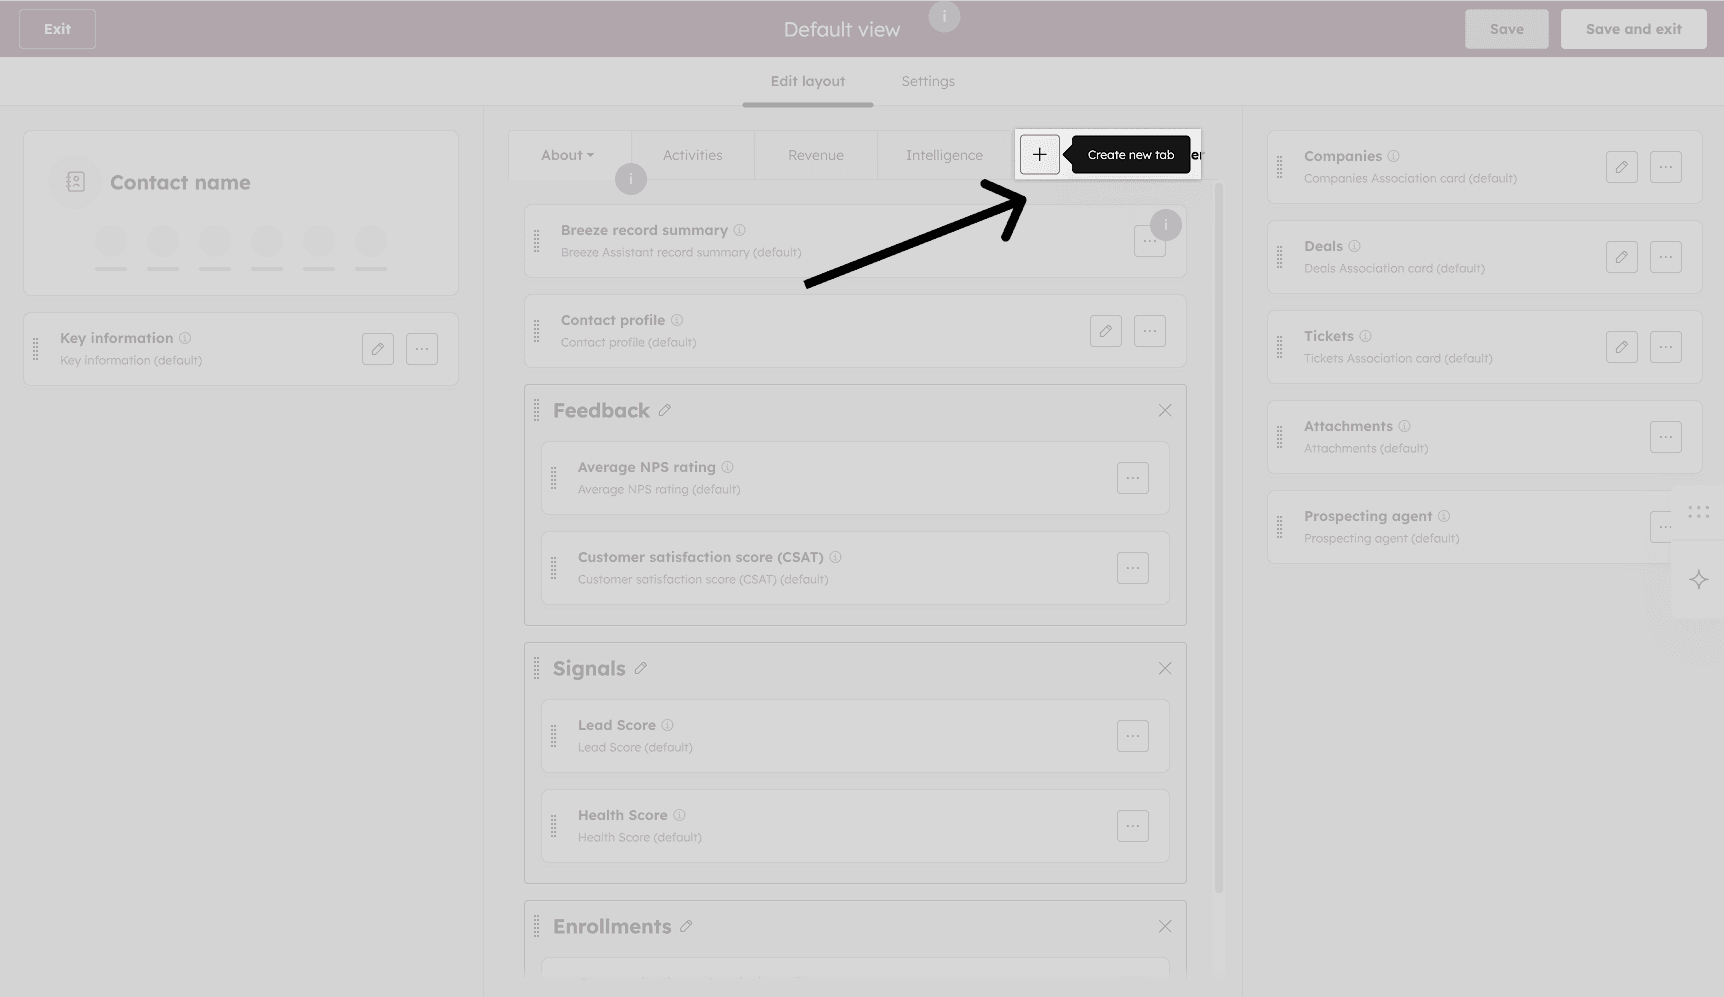
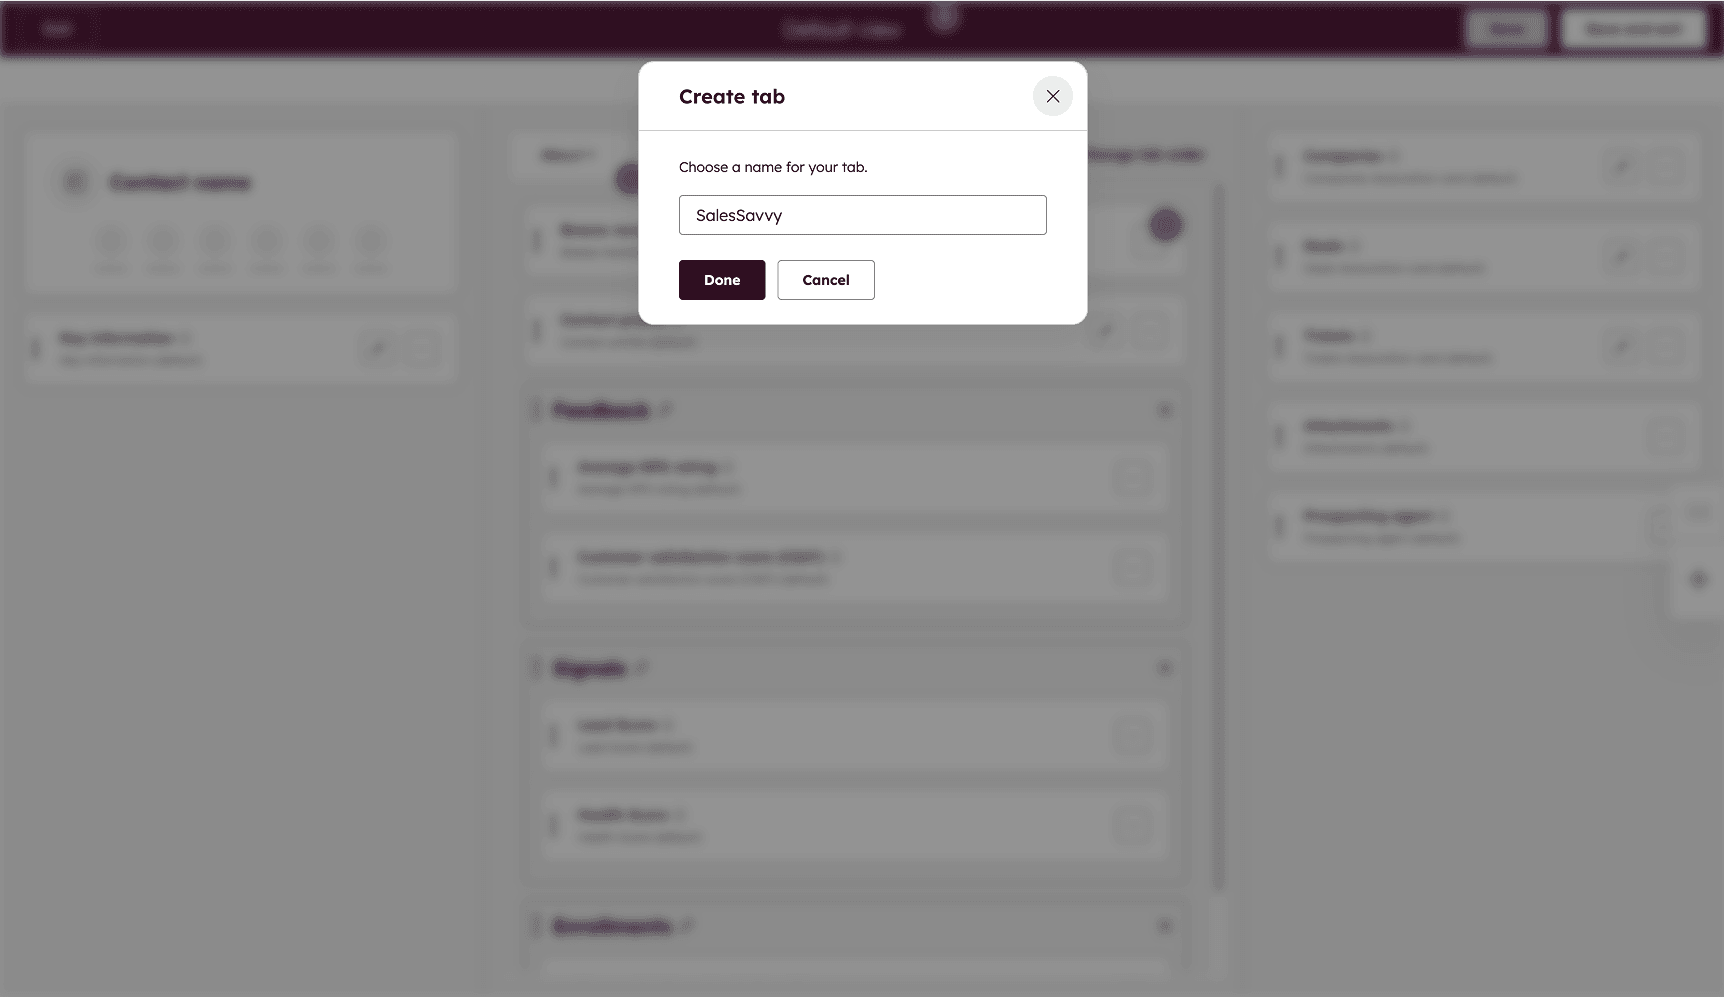
In the tab editor, click "Create new tab". Name it "SalesSavvy" or any label you prefer. This gives your insights a clean and dedicated space.
5. Add the Intelligence Card
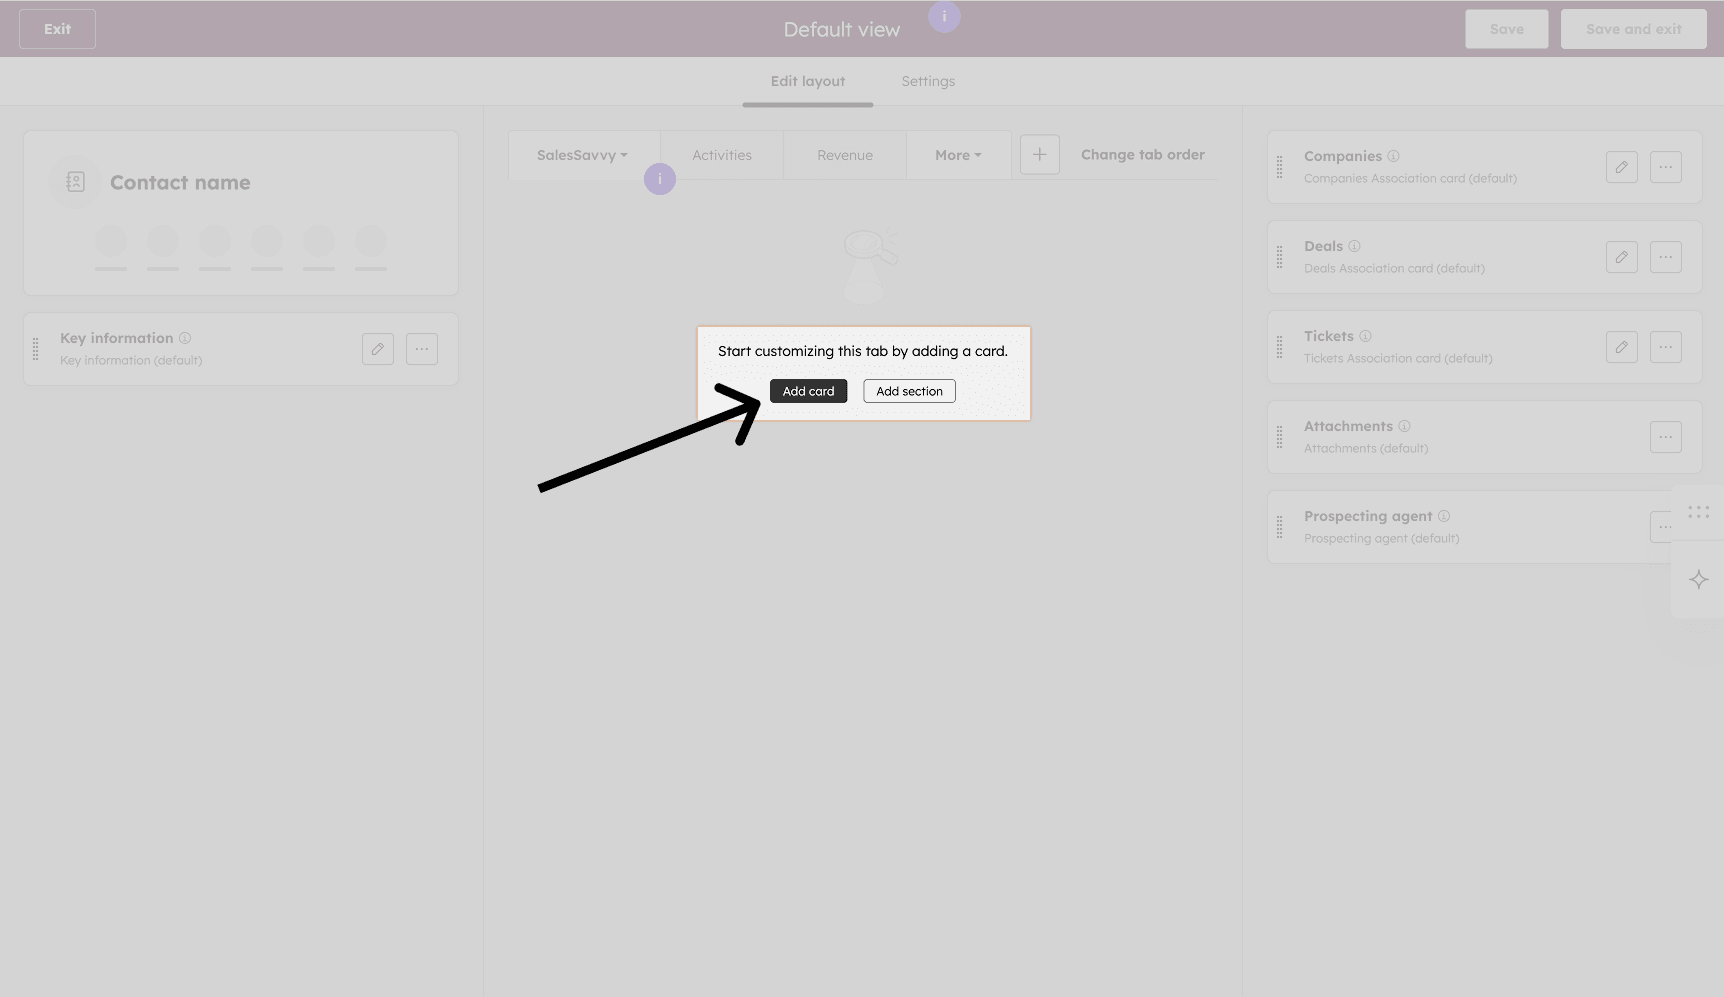
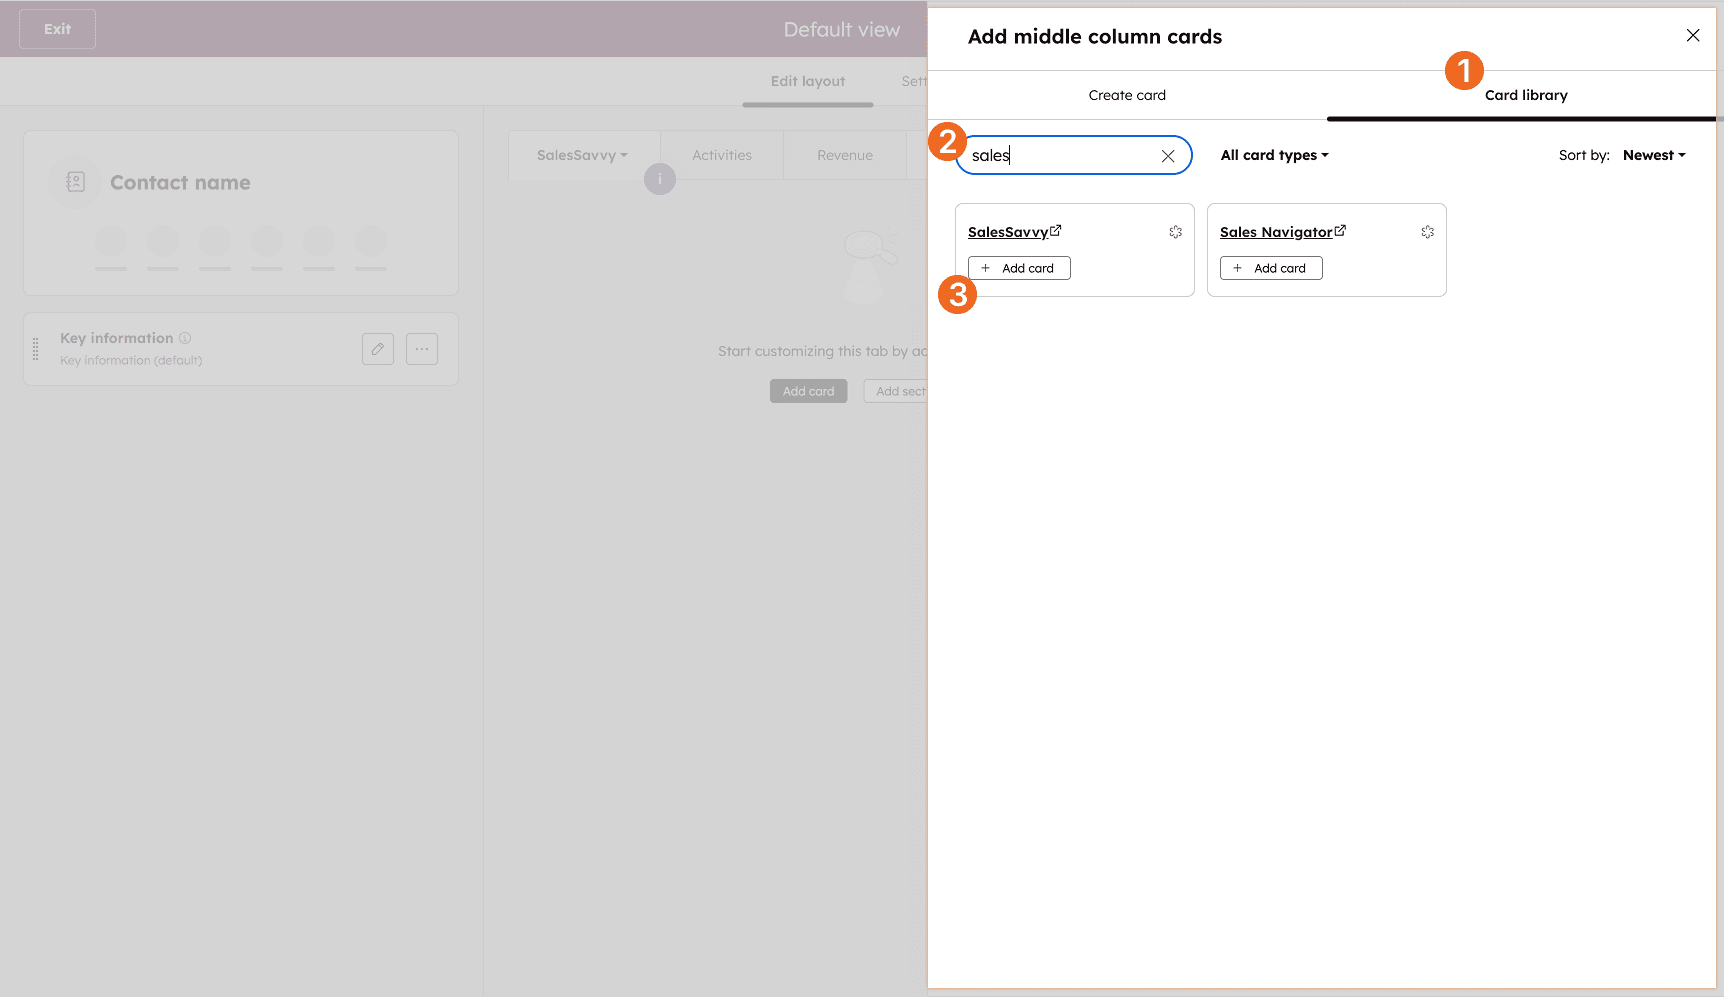
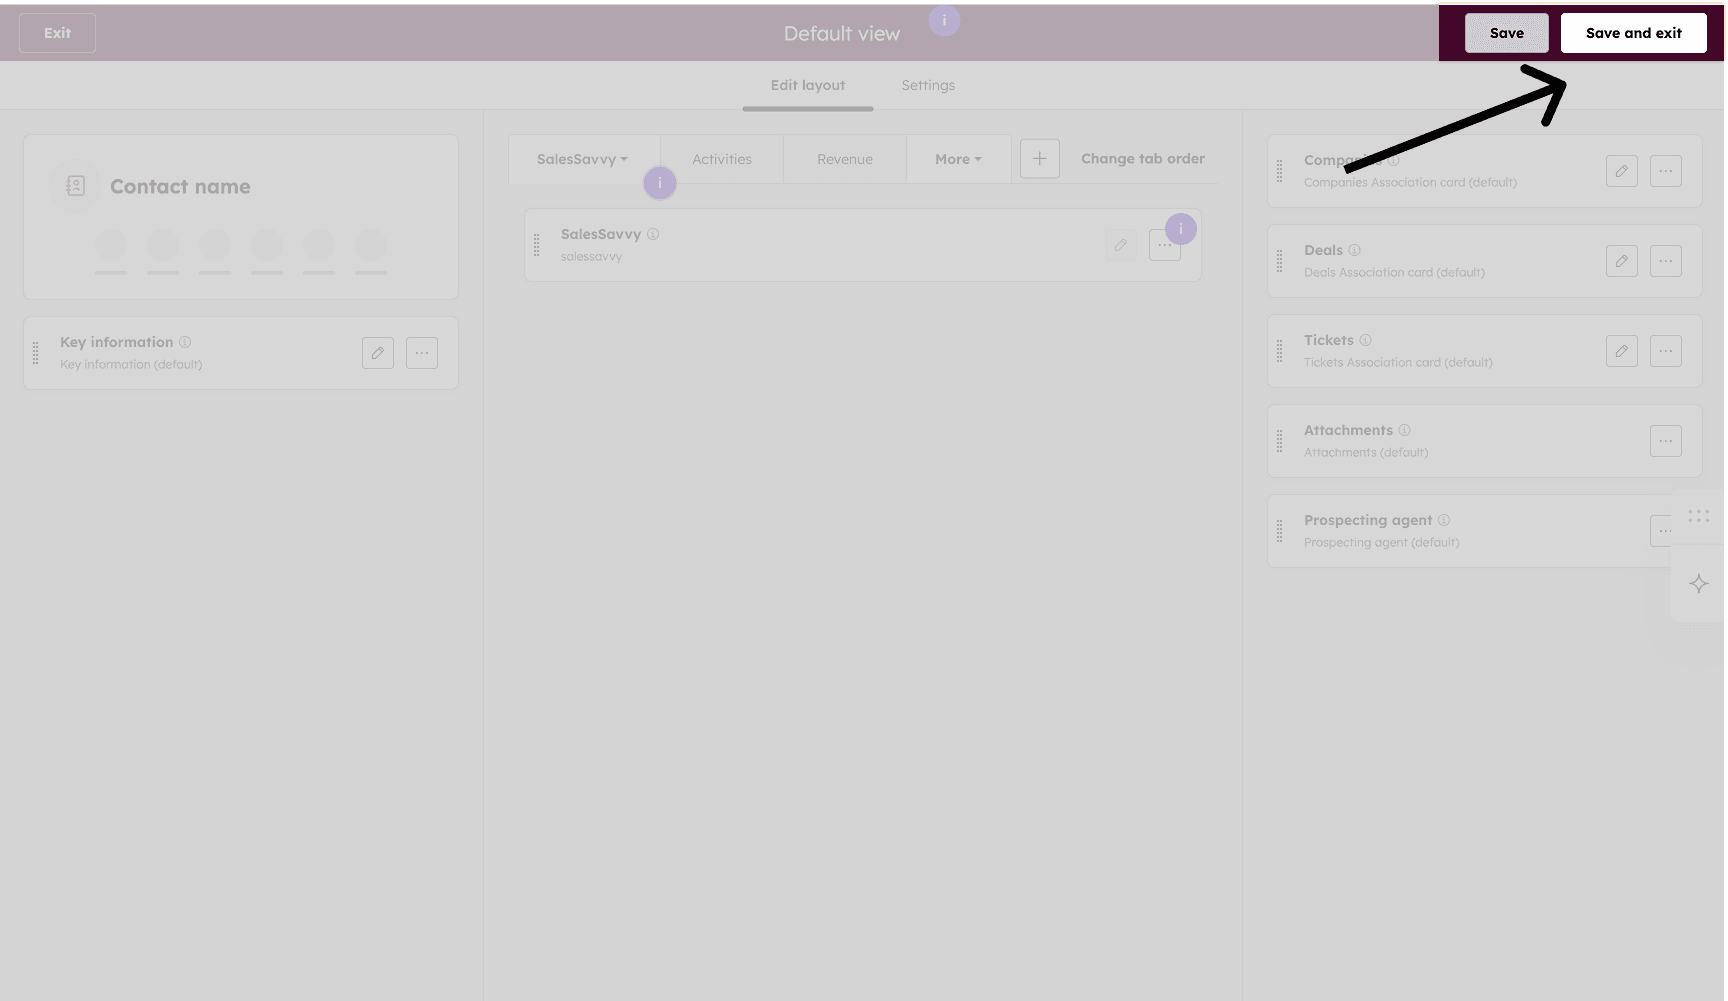
Open the new tab, choose "Add card", search for "SalesSavvy" in the card library, and select it. Then save and exit.
6. You're All Set
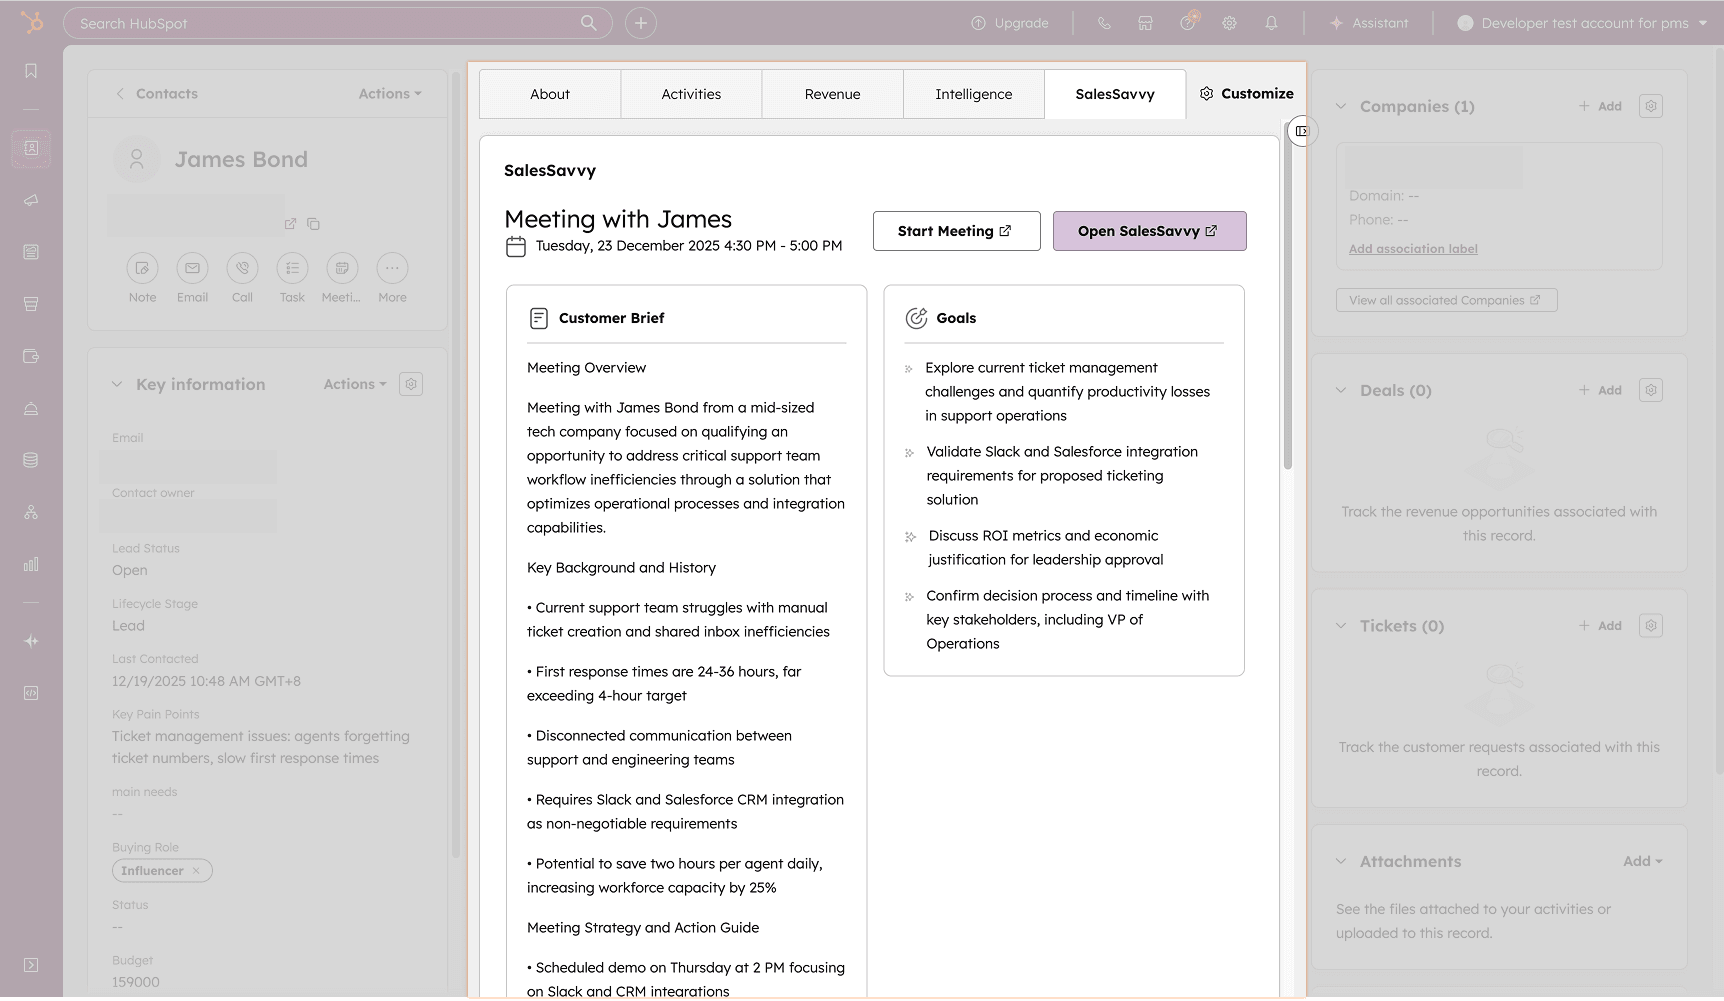
Open any contact, switch to your new "SalesSavvy" tab, and review pre-meeting insights directly inside HubSpot.
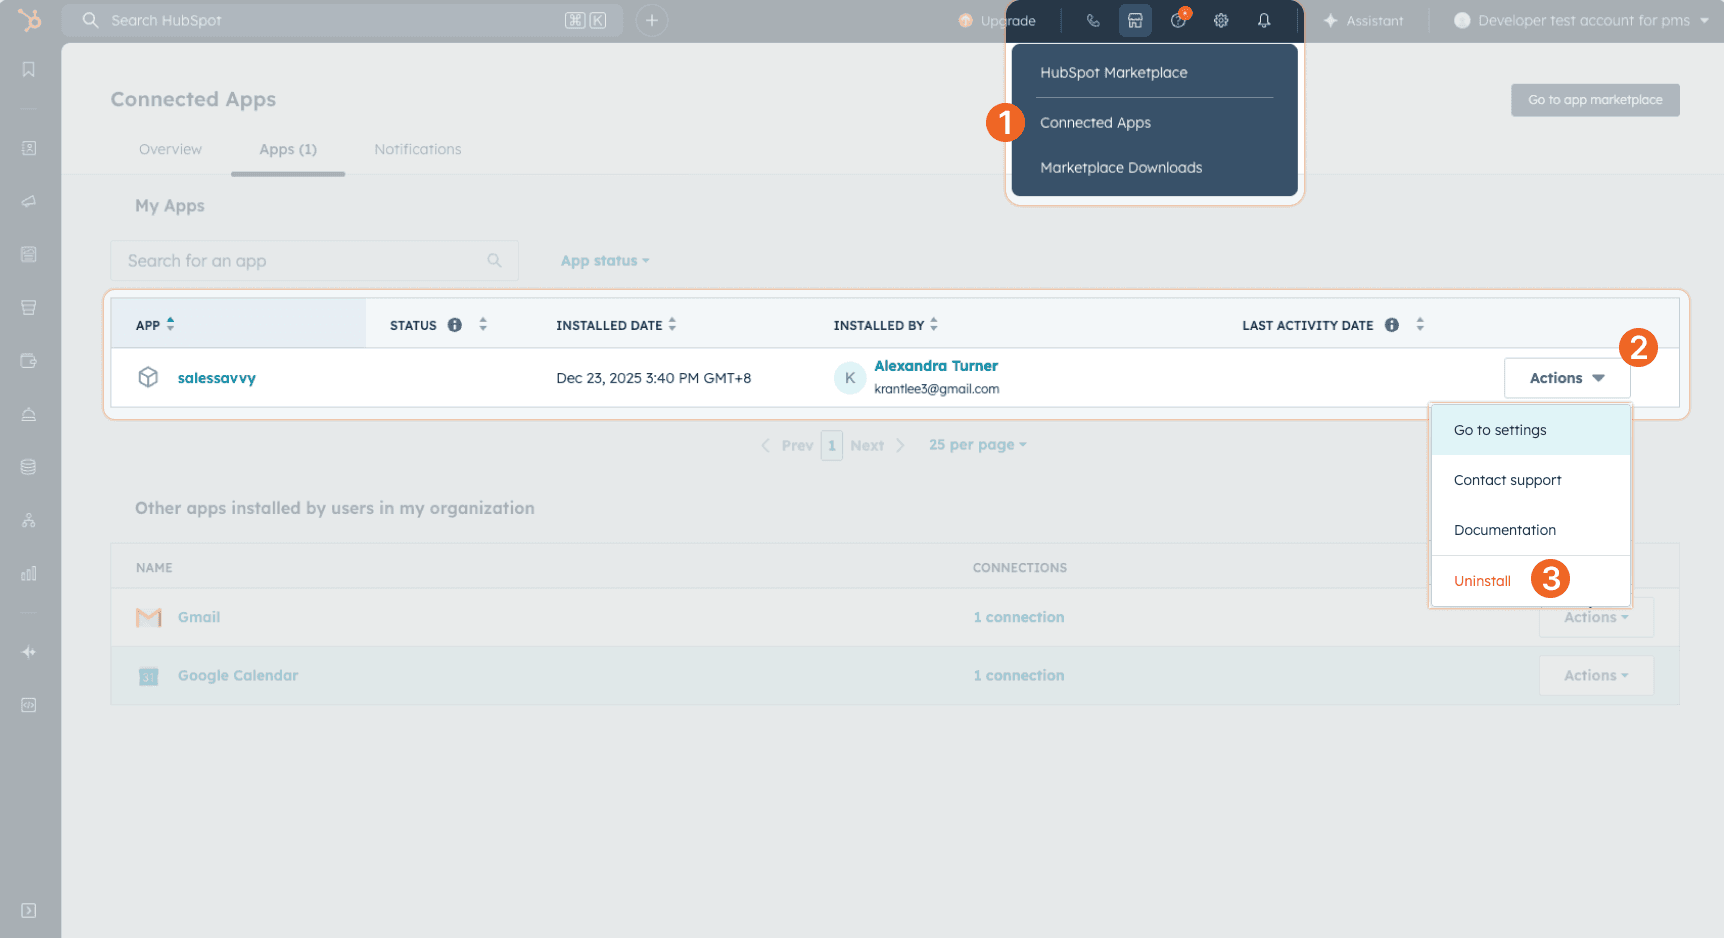
7. Uninstall SalesSavvy
- Click the Marketplace icon at the top of HubSpot.
- Open Connected Apps.
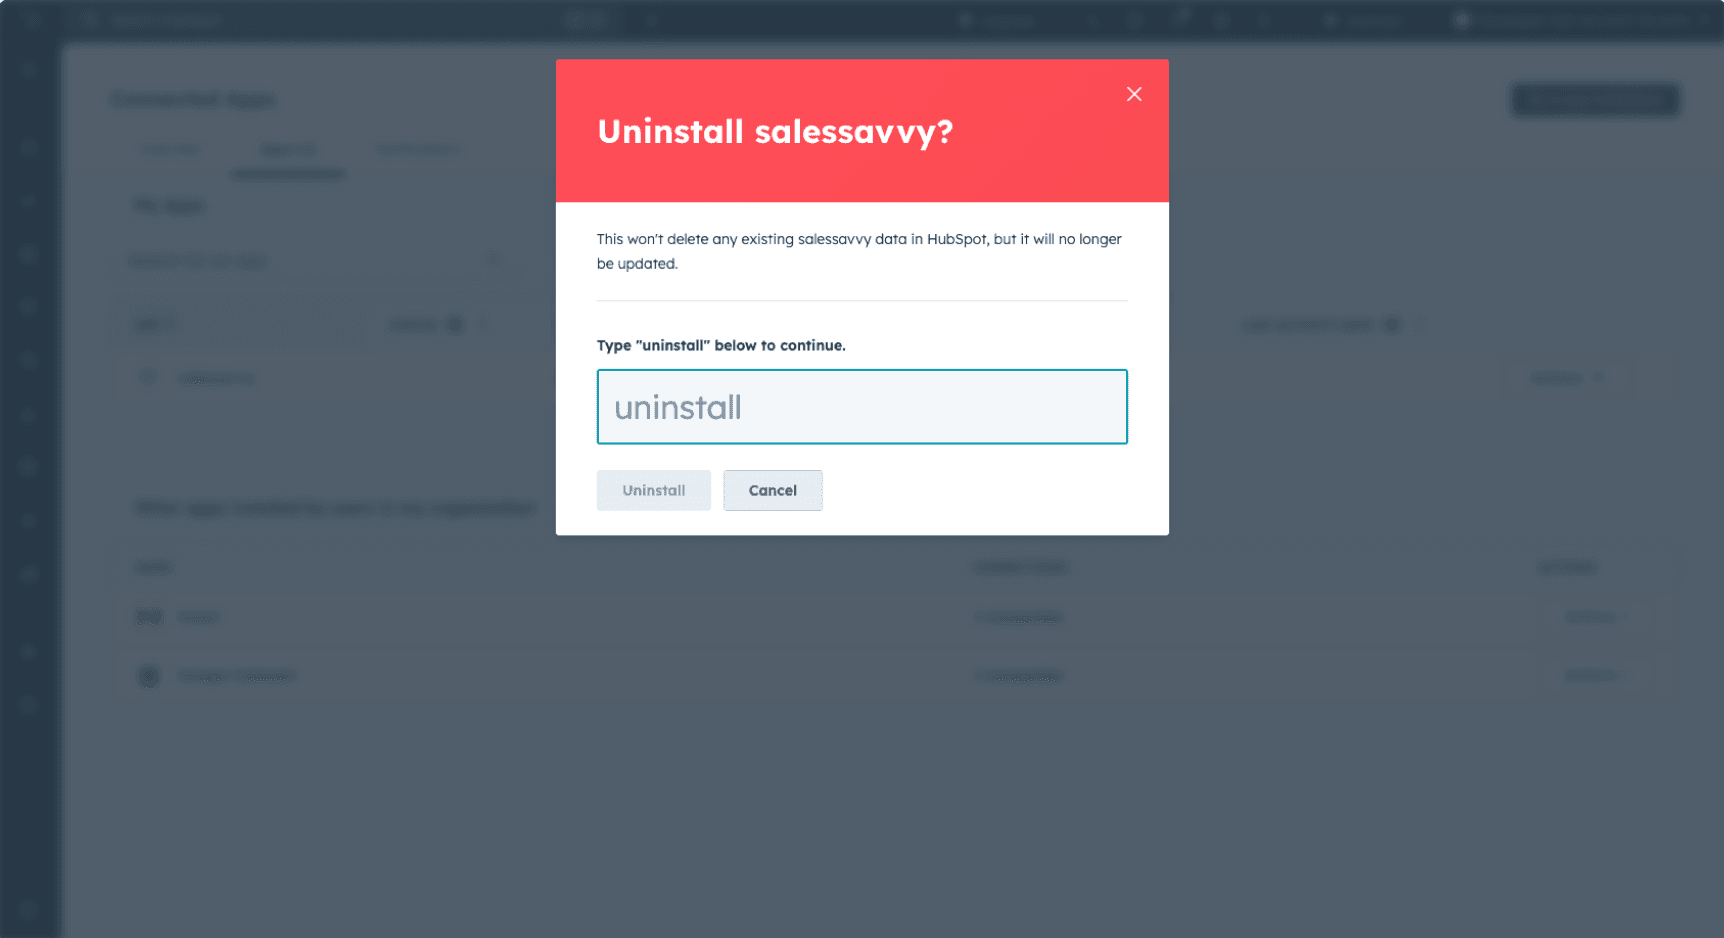
- Find SalesSavvy, then click Actions > Uninstall.
- Type "uninstall" to confirm and complete the removal.